Storm-proof fencing: what actually fails first (and how to stop it)
Introduction:
If you want a fence that survives storms, stop obsessing over panels.
Panels get the blame because they’re visible. But after big weather, the first failure is usually the stuff most quotes gloss over: posts that move, footings that weren’t sized for the site, and gates that were never set up to stay true.Once the structure gives, everything else follows.
This article covers the real failure points we see after storms - leaning posts, blown-out panels, gate sag, and washouts - plus the build choices that prevent the mess in the first place.
Quick Answer
Storm-proof fencing fails first at the structure: posts shifting in the ground, corners losing tension, and gates sagging out of square. Prevent it by matching post depth and footing size to soil and exposure, using proper bracing on ends and corners, allowing controlled wind flow (gap or profile choice), and designing drainage so water can’t undermine the fence line.
What fails first in storms (and why it’s predictable)
Storm damage looks random when you’re staring at a section on the ground.
Up close, it’s usually the same handful of failures repeating.
A storm loads your fence in three ways:
Wind load: pressure and suction on the face of the fence
Ground saturation: wet soil loses holding strength
Water movement: runoff concentrates and scours along the fence line
Most fences fail because they were built for a “normal day” site. Storms don’t care what your quote said.
A fence that stays standing after rough weather usually had two things sorted from day one:
Structure sized for the site(posts, footings, bracing)
Wind and water managed(airflow and drainage weren’t an afterthought)
Failure point 1: leaning posts (the real beginning of most failures)
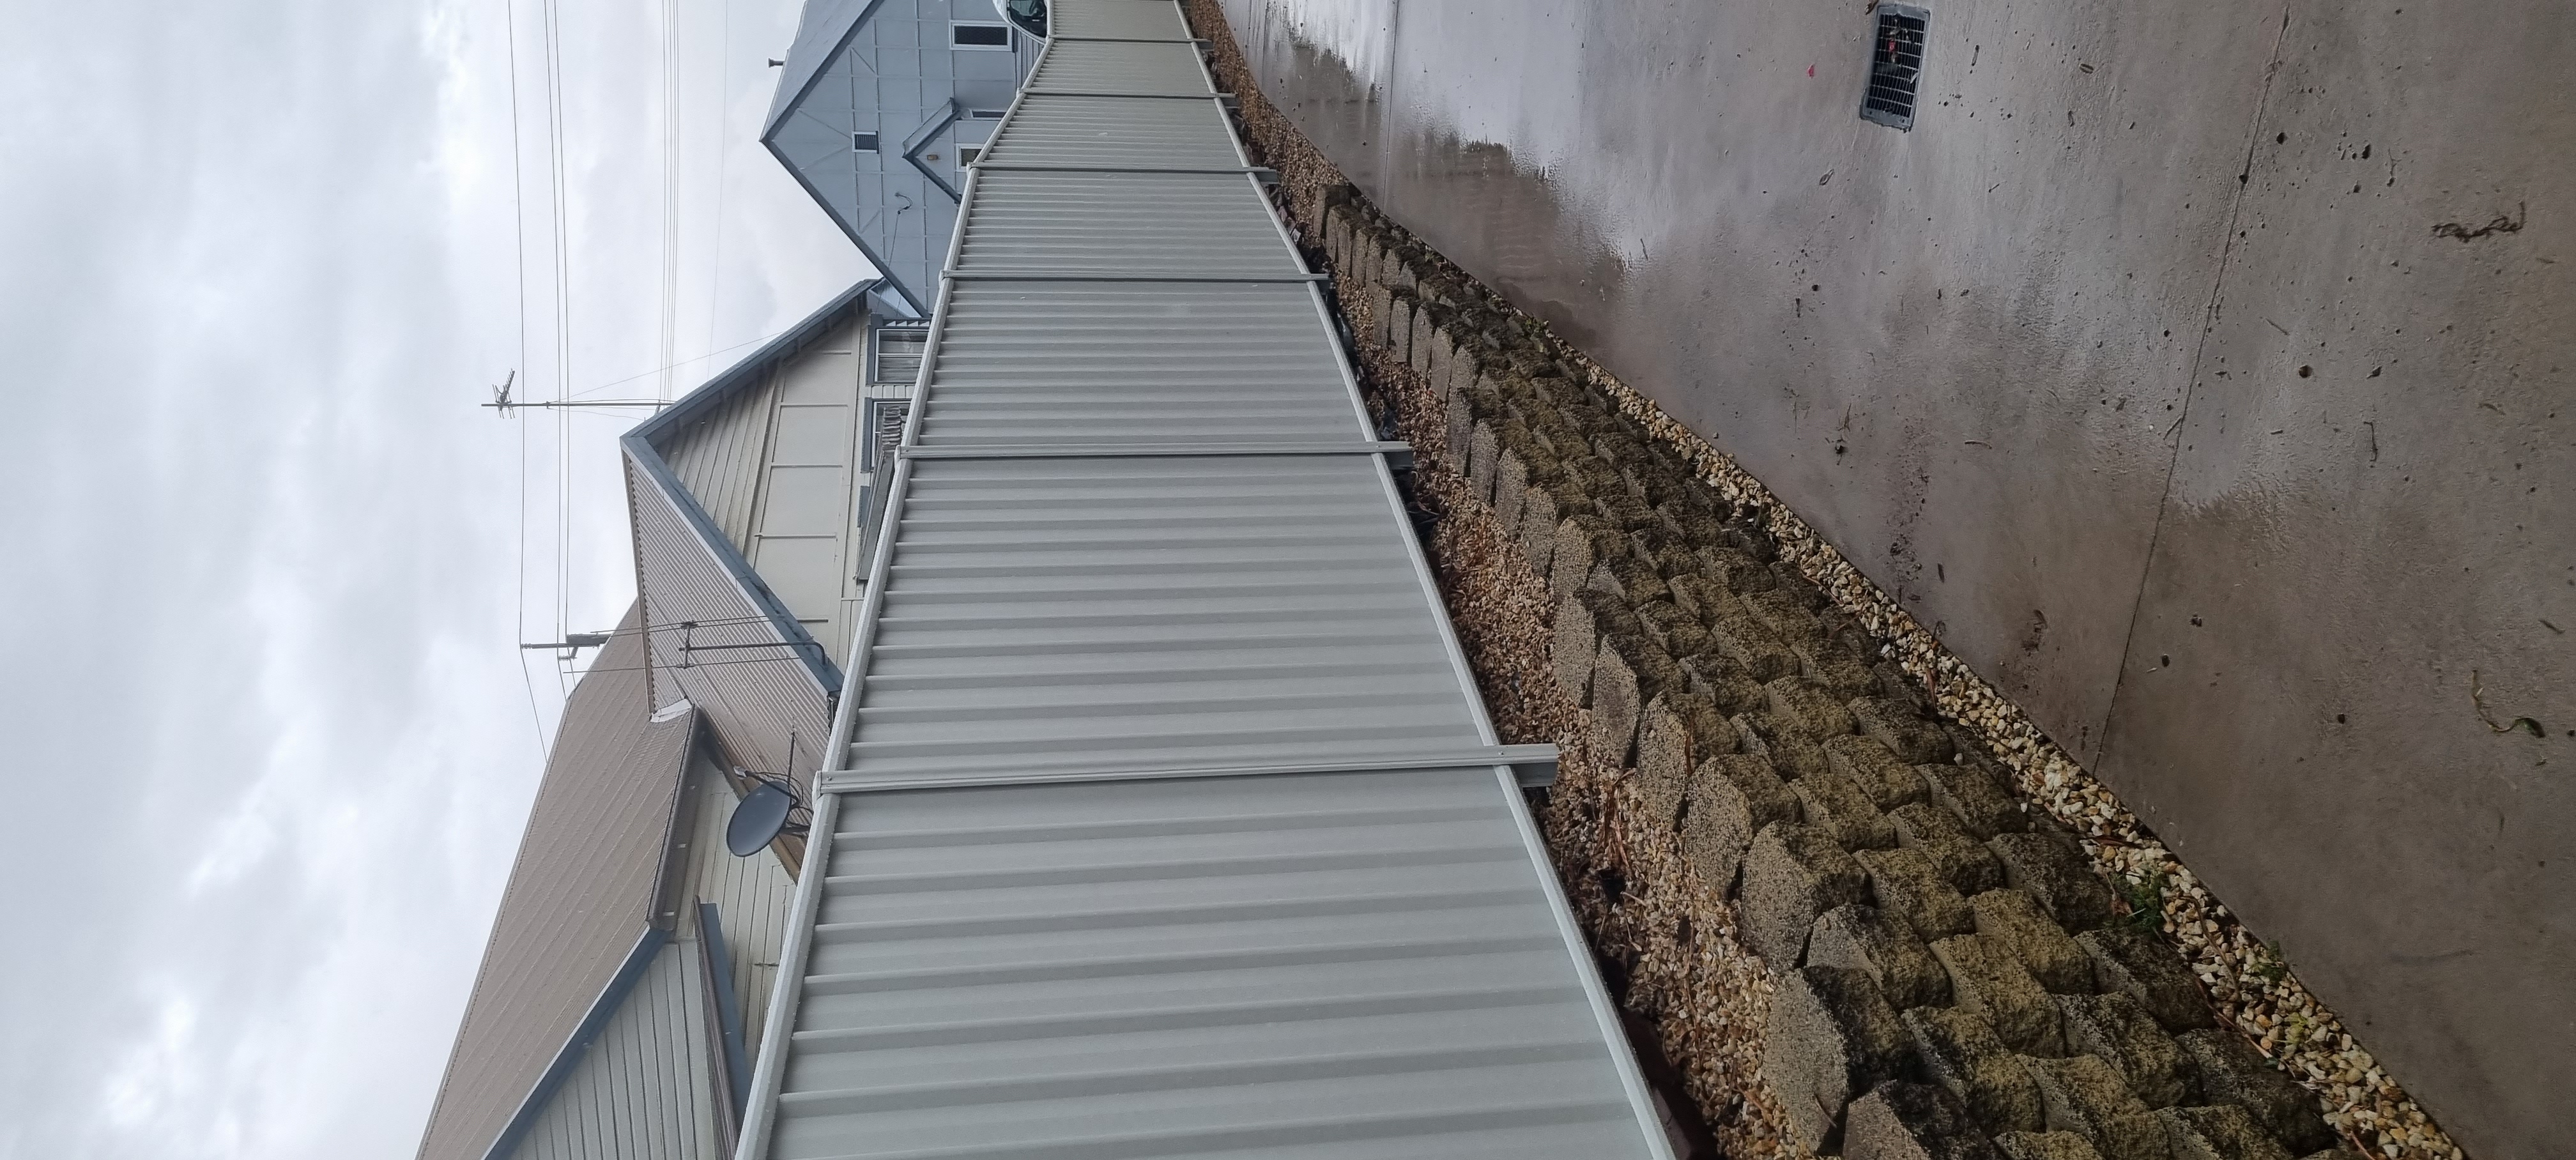
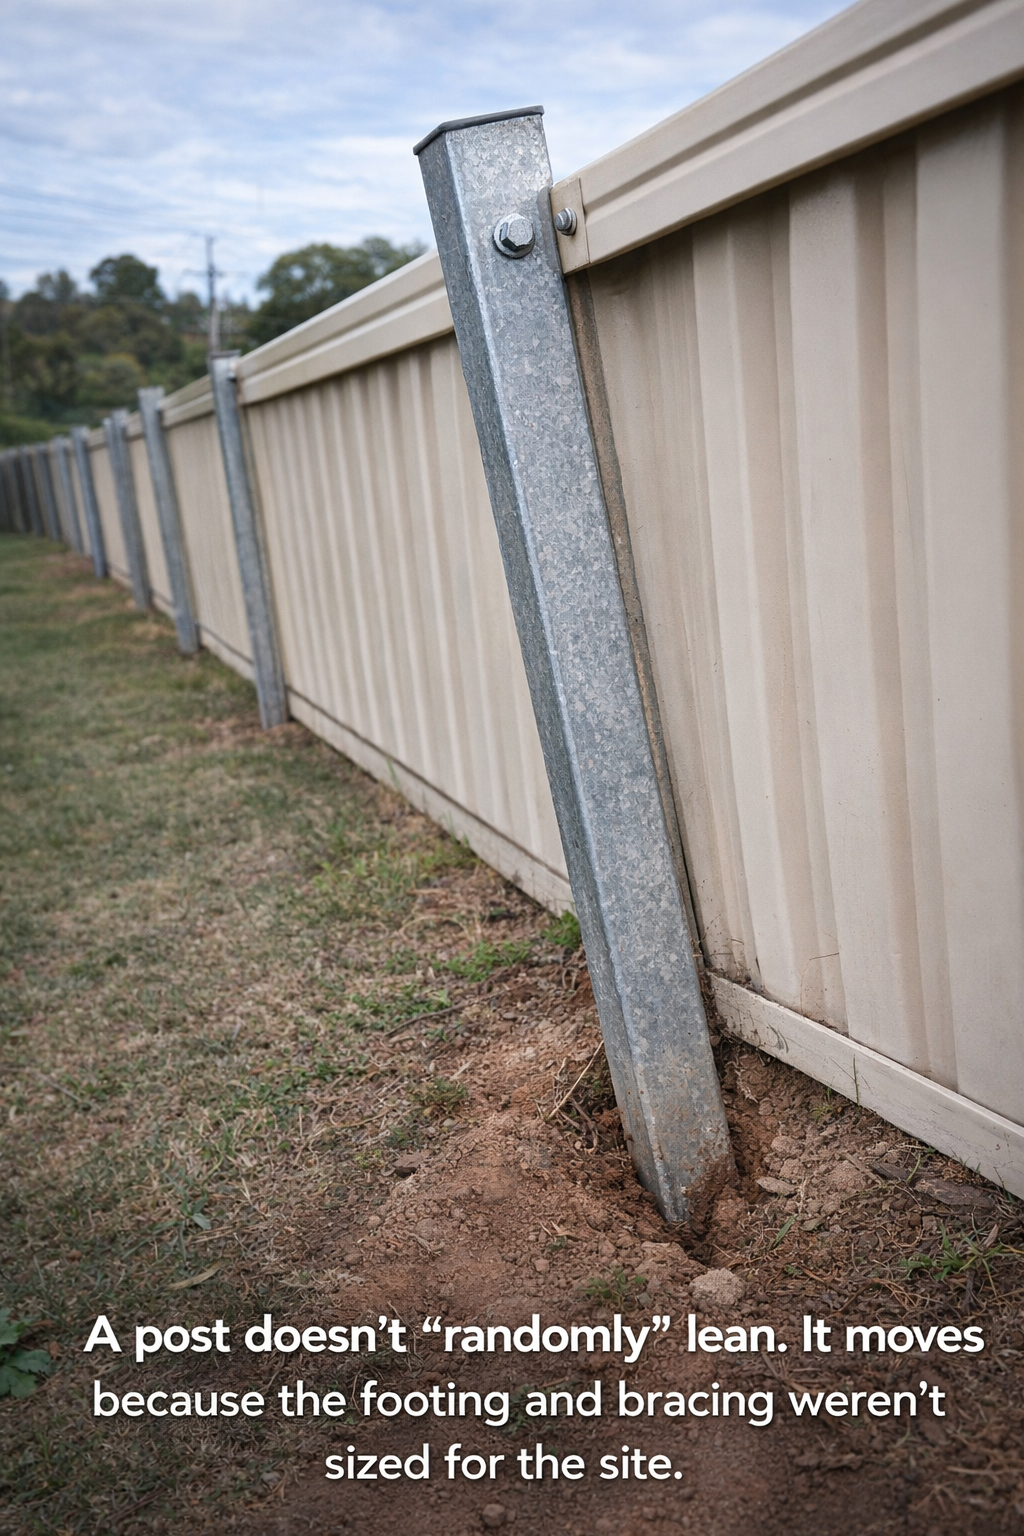
When posts lean, the fence is already losing. The panels are just the part you notice.
Why posts lean after big weather
Common causes:
Footings too shallow for the soil or exposure
Footing diameter too small for the load
Saturated ground reducing friction and holding capacity
Poor compaction around the post (or rushed concrete work)
End/corner posts not braced so the line pulls them over
Tall, solid fences carry a lot of wind load. Wet ground wipes out a lot of holding strength. Put those together and you get the classic “it was fine for years” surprise.
Early signs your fence is about to go
A straight line that now has a gentle bow
A post that looks fine from one angle, but not from the other
Gaps opening at one end of a run
A gate latch suddenly needing a lift or shove
Prevention choices that actually matter
This is where storm-proofing is won.
Post depth and footing size need to match the site, not a template metre rate.
Corners and ends need to be treated as load points, because they are.
Soil reality matters. Sand, fill, reactive clays, wet ground. Different holding, different decisions.
Leaning Post Triage (decision aid)
One post slightly out, panels still straight: you may be able to re-set that post before the line gets dragged.
Multiple posts leaning the same way: the design is underbuilt for the site. Re-setting one post won’t last.
End/corner post moved: expect the whole run to keep moving until the end is rebuilt properly.
Failure point 2: blown-out panels and rails (what people notice, not what started it)
Panels get ripped out when the fence can’t shed wind load.
What causes panels to blow out
Solid face with no wind relief in an exposed position
Fixings that aren’t suited to load and movement
Rails or sheets spanning too far without proper support
Posts already moving so the panel takes the load unevenly
A common trap is paying for “stronger panels” while ignoring wind behaviour. If the fence is acting like a sail, it will find the weakest point.
Prevention: control wind, don’t fight it
You don’t storm-proof a fence by pretending wind doesn’t exist. You storm-proof it by designing for it.
Practical ways this shows up in real builds:
Wind gaps or spacing choices where appropriate
Profile and orientation choices that reduce suction and rattling
Extra structure where needed(more posts, bracing, correct fixings)
Wind Exposure Check (quick filter)
Treat the site as exposed if you’ve got any of these:
Long open runs with no trees/buildings breaking wind
A fence on a ridge, rise, or open paddock edge
High-wind corridors near the coast
Tall, solid privacy fencing with nothing slowing wind before it hits
Failure point 3: gate sag (the fastest way to tell if the structure moved)
Gates are the truth serum of fencing.
A gate that suddenly drags, won’t latch, or needs a lift to close is usually telling you one of two things:
The gate post moved, or
The gate was never set up to stay square under use and weather
Why gates sag after storms
Wet ground loosening the gate post
Hinges and fixings loosening under movement
Gate frame twisting under wind load
Poor setup: post not deep enough, hinges not aligned, latch side not supported
Prevention: build the gate area like it matters
Because it does.
If you want a gate that still swings clean after rough weather:
Treat the gate post as a structural post, not “just another post”
Brace where required, especially on heavier gates
Set hardware with alignment and adjustment in mind
Quick check after a storm
Does the latch line up without lifting the gate?
Is the gap even along the hinge side?
Has the gate started self-opening or self-closing?
If any of those changed, don’t ignore it. Gates rarely fix themselves.
Failure point 4: washouts and undermined fence lines (water does the quiet damage)
Wind knocks things over. Water makes sure they don’t go back.
What a washout looks like
Soil missing from one side of the fence line
A “floating” section where ground dropped away
Posts exposed at the base
Fence line acting like a dam and catching debris
Why it happens
Fence built across a flow path without drainage thinking
Runoff concentrated along the fence line
Poor site fall management
Saturated ground plus moving water scouring around footings
Prevention: let water pass without taking your fence with it
You can’t negotiate with runoff. You plan for it.
Practical prevention moves:
Identify natural flow paths before setting the line
Avoid creating a dam effect where possible
Use design allowances where water needs to pass
Make sure footings and structure aren’t sitting in a predictable scour zone
Boundary condition:If your site regularly takes sheet flow or has known drainage issues, storm-proofing isn’t a “hardware upgrade.” It’s a site and design decision.
The Storm-Proof Spec checklist (what to ask for before you sign)
Most storm damage is baked in at quoting stage.
Use this to force clarity before you commit.
Storm-Proof Spec Checklist
Exposure call made:Is the site treated as sheltered, semi-exposed, or exposed?
Post depth and footing size specified:Not implied. Written.
End and corner bracing included:Clear detail on how ends are restrained.
Gate area built properly:Gate post treated as a structural element.
Wind behaviour considered:Solid faces handled with wind relief or extra structure where required.
Water and drainage considered:Flow paths checked. Washout risk addressed.
Materials matched to conditions:Not “whatever’s cheapest this week.”
Scope is tight:Demolition, disposal, access, ground conditions, and variation triggers are clear.
If a quote can’t answer those points cleanly, it’s not a quote. It’s a guess.
Material choices for exposed sites (what holds up, what doesn’t)
Material choice matters, but only after structure.
Premium materials on underbuilt posts still fail. Sensible materials on correct structure usually survive.
Choose this if (quick guide)
Choose a solid privacy styleif you genuinely need privacy and you’re willing to build the structure to suit the wind load.
Choose a design with wind reliefif the site is exposed and you want less pressure on posts and fixings.
Choose heavier-duty structureif the fence is tall, the run is long and open, or the ground gets saturated or moves.
Keep it simple. Match the fence to the site you actually have.
What most homeowners get wrong (and it costs them twice)
People chase the wrong upgrade.
They’ll pay for a nicer panel, a prettier finish, thicker rails. Then the fence leans because the posts were never sized for the ground and wind.
A storm-proof fence is boring in the right places:
deeper where it needs to be deep
braced where it needs to be braced
allowed to breathe where wind needs a path
designed so water can’t undermine it
That’s the difference betweenBuilt Once. Built Right.and “we’ll see how it goes.”
FAQs
What’s the most common reason fences fail in storms?
Posts moving in saturated ground is a big one. When the footing depth or size doesn’t match the soil and exposure, the post shifts. Once posts shift, panels pop, lines bow, and gates stop working properly.
Can I just replace the damaged panels after a storm?
Sometimes, but only if the structure is still true. If posts have moved or corners have lost tension, new panels are a cosmetic fix. They’ll take load unevenly and you’ll be back in the same spot after the next big weather.
How do I know if my fence posts have moved?
Look for a change in the line. A straight run that now bows, posts that look out of plumb, gaps opening at one end, and gates that suddenly don’t latch clean are strong indicators.
Do wind gaps actually help?
Yes, when the site is exposed. A fence that can shed wind load puts less stress on posts, fixings, and rails. It’s physics.
Why do gates start sagging after storms?
Gate posts often move first because they carry load every day, then get hit with wet ground and wind. If the post depth, footing, and hinge setup weren’t treated as structural, sag shows up fast.
What should I check right after a storm?
Walk the line and check three things: posts for lean, panels for loosened fixings or rattling, and gates for latch alignment. Also look for washouts where soil has moved away from the fence line.
Is it cheaper to repair or replace a storm-damaged fence?
If it’s isolated damage and the structure is still sound, repair can make sense. If multiple posts moved, corners shifted, or washouts undermined the line, replacement or a partial rebuild with correct structure is usually the cleaner long-term call.
Key takeaways
Storm-proof fencing fails at the structure first: posts, ends, corners, gate posts.
Panels blowing out is often the symptom.
Wet ground plus wind load is where underbuilt fences get exposed.
A storm-proof spec is simple: correct post depth and footing size, proper bracing, wind behaviour considered, drainage not ignored.
If you want no headaches, you need a fence that doesn’t rely on luck.
If you’re planning a fence for an exposed or weather-prone site and you want it built once and built right,get in touch for a proper scope and site check. It’s the fastest way to avoid paying for the same fence twice.
{https://northcoastfencing.com/home}